When sirens sound, you don’t want confusion—you want calm, confident action. The fastest way to get there isn’t another lecture; it’s short, consistent practice. This 30-minute drill helps families build muscle memory, reduce storm anxiety, and make sure your storm shelter is truly ready for kids and pets, too.
Pro tip: A clean, pest-free, breathable shelter space dramatically improves willingness to enter and stay put. If you haven’t already, read our guides on storm-shelter anxiety and ventilation to set the stage.
Why short, regular drills beat long lectures
Long, one-off “talks” about emergencies fade fast. Brief repetitions create habits you can count on when the wind picks up. Short drills also help you find small blockers—like a flashlight with dead batteries or a box sitting in the approach path—before they become big problems.
A shelter that’s dry, odor-controlled, and free of bugs lowers the emotional barrier for kids (and adults). Our breathable supplemental cover is designed to keep debris and insects out while allowing airflow, so practice feels less claustrophobic and more routine—not a “last resort.” For background on why breathability matters, see tornado shelter ventilation and our notes on materials.
The 30-minute drill (3 phases)
Set a 30-minute timer. Keep it light, encouraging, and no running at any point.
Phase 1 — Walkthrough (10 minutes)
Goal: Everyone learns where to go, what to carry, and how to move safely.
- Assign roles:
- Lead adult: opens garage route, checks the approach.
- Second adult/teen: handles pets & go-bag.
- Older child: carries headlamps, light sticks, or extra water.
- Younger child: sticks with a “buddy” adult.
- Route review: Start from common locations (kitchen, living room, bedrooms). Practice calmly walking the shortest, clearest path to the shelter lid.
- Pet plan: Decide who brings the carrier, who handles the leash, where treats and water live.
- Hands & feet: Closed-toe shoes if possible; remind everyone about fingers near hinges and edges.
Tip: If your shelter is in the garage, note where vehicles normally sit and which path you’ll use between wheels.
Phase 2 — Timed Entry (10 minutes)
Goal: Build a quick, smooth routine without rushing or tripping.
- Start from “normal life”: Have everyone do what they’re usually doing at 7pm (homework, cooking, TV). Start the timer.
- Calm walk: Move deliberately to the shelter. No running.
- Approaching the lid:
- Keep the approach path clear—no cords, boxes, or tools.
- Use a low-profile, easy-lift top layer so there’s nothing to stub toes on.
- One adult manages the lid. Others stand clear, then follow in order.
- Position inside: Adults on outer edges, kids/pets seated first, go-bag near the entrance.
Repeat a second time from different starting spots. You’re aiming for consistency rather than speed.
Phase 3 — Lights-Out Calm (10 minutes)
Goal: Normalize staying put comfortably for several minutes.
- Lights out: Switch headlamps on. Practice quiet voices for 5 minutes.
- Comms check: Do phones have charge? Is a battery radio reachable?
- Comfort check: Water, tissues, small toy or book for kids, pet treats.
- End with praise: Congratulate everyone on a calm, clean run.
Kid & pet adaptations
For kids:
- Buddy system: Each child pairs with a specific adult.
- Simple scripts: “We walk. We watch our feet. We sit and sip water.” Short cues reduce worry.
- Predictability: Keep the order the same—who goes first, who carries what.
- Comfort items: A small blanket, card game, or fidget can turn minutes of waiting into quiet time.
For pets:
- Staging: Carrier/crate lives near (not on) the approach path. Don’t block the lid.
- Leashes & ID: Keep a spare leash and ID tag in (or clipped to) the carrier.
- Water & wipes: Include a collapsible bowl and a small towel in the go-bag.
- Desensitization: Pop the pet into the carrier for 2–3 minutes during regular days so the drill feels familiar.
A breathable, pest-blocking top layer reduces smells and critter encounters—two of the most common triggers for kids’ and pets’ reluctance. See our article on managing storm-shelter anxiety.
Garage layout & safety around the lid
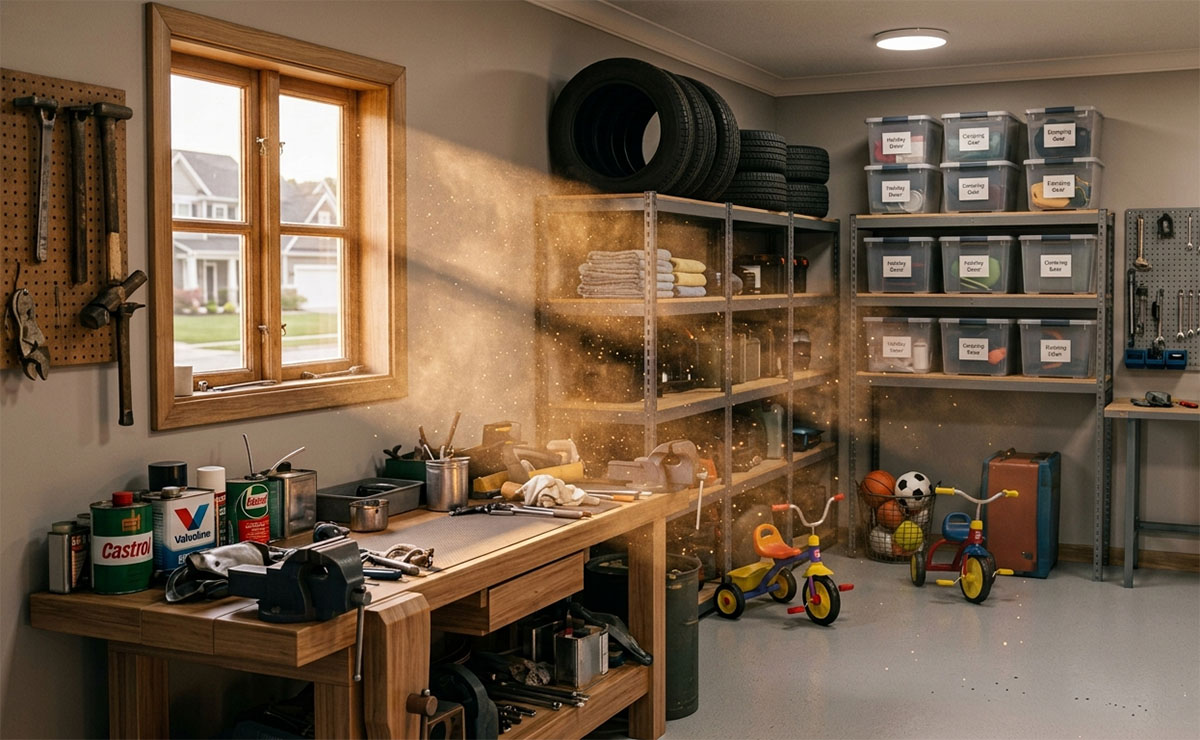
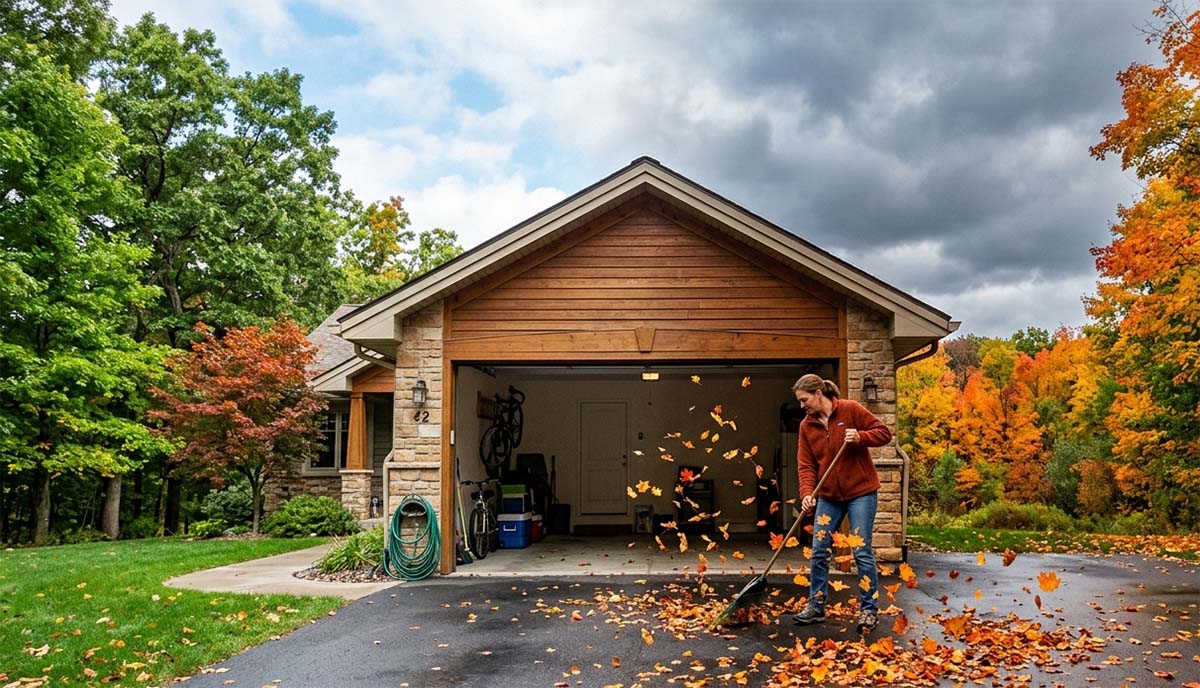
Your garage layout can make or break a smooth entry. Five quick wins:
- Map the approach path: Use painter’s tape to mark a “runway” from interior door to the shelter.
- Clear the crown: Keep 12–18 inches around the lid free of boxes, cords, or tools.
- Lower the risk of toe-stubs: A low-profile supplemental cover reduces snags for kids and pets and is easy to lift when seconds matter.
- Vehicle positioning: Park with consistent wheel placement; avoid stopping on the approach line.
- Overhead safety: Check shelves and hooks above the path—nothing should be able to fall if slammed by wind vibration.
For more specifics on in-garage setups, see in-garage underground tornado shelters and our founder story on usability upgrades: how we discovered the best way to seal a tornado shelter.
After-action debrief + go-bag refresh
Wrap up with a 2-minute debrief:
- What slowed us down?
- What will we move closer to the lid?
- Who needs a different role next time?
- Did kids or pets struggle with any step?
Then refresh the go-bag:
- Replace used snacks, rotate bottled water, check meds and batteries.
- Confirm you have a small first-aid kit, pet items, a spare leash, wipes, and a USB battery pack.
Airflow reminder: Don’t “seal” vents or switch to solid tarps. You’ll trap humidity and worsen odors or mold. Keep it breathable and bug-resistant. Learn why in tornado shelter ventilation and tornado shelter cover materials.
30-Minute Drill: Quick-Print Checklist
Before you start
- Timer set for 30 minutes
- Headlamps/flashlights charged
- Carrier/leash staged, water & treats packed
- Approach path clear, crown around lid swept
Phase 1 — Walkthrough (10 min)
- Roles assigned (lead adult, pets/go-bag, kids’ buddy)
- Routes reviewed from 2–3 common rooms
- Finger/hinge safety explained
Phase 2 — Timed Entry (10 min)
- Calm walk from “normal life,” no running
- Lid managed by one adult; others stand clear
- Kids/pets seated first; go-bag placed by entrance
Phase 3 — Lights-Out Calm (10 min)
- Headlamps on; quiet voices for 5 minutes
- Phone/radio check
- Comfort check (water, tissues, small toy/treats)
After-action (2 min)
- Debrief 2–3 improvements
- Refresh go-bag items and batteries
- Put date on calendar for next month’s drill
Related resources
- Storm Shelter Anxiety: Practical ways to lower the “I don’t want to go in there” response—especially for kids and pets.
- Tornado Shelter Ventilation: Why breathable setups help prevent mold, odors, and discomfort.
- In-Garage Underground Tornado Shelters: Layout tips and everyday usability.
- How We Discovered the Best Way to Seal a Tornado Shelter: Our founder story and the design decisions behind a cleaner, safer shelter.